After:
Before:
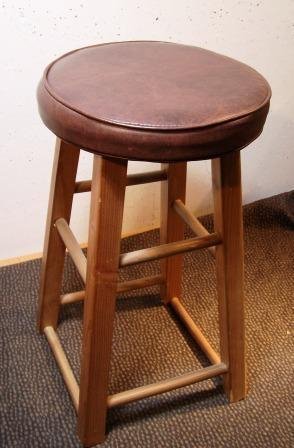
Some stools you buy at Walmart or Target in a moment of weakness are cheap. Rather than discarding the manufactured junk, merely reupholster it using fabric and keep it inside your do-it-yourself shop. I utilize the same methods to recover costly bar stools for customers.
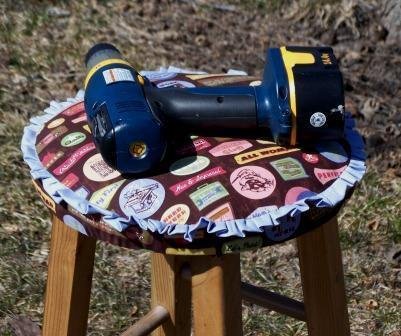
This simple round stool do-over took just two hours. I discovered this girly do-it-yourself fabric. It isn’t heavy-duty upholstering fabric, yet it’s very cute.
How to Reupholster a Bar Stool
Supplies needed:
- Crescent pliers to pull out staples
- Flathead screwdriver for removing staples
- Staple gun
- Stapler
- Scissors
- Pins
- Sewing machine
- Spray adhesive
- One piece of Dacron that is big enough to fit over the stool’s top
- 1/4 yard ruffle fabric (optional)
- ¾ yd. of fabric
Directions:
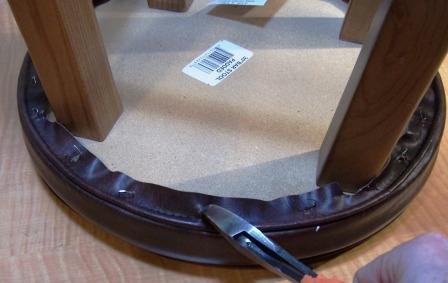
Lift – then take out staples; pull the old covering off

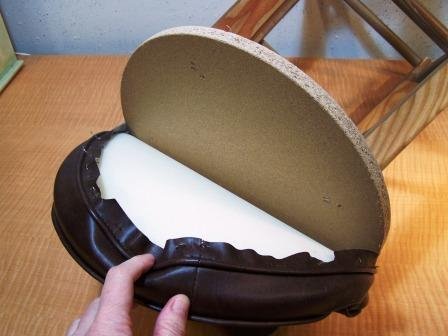
Spray adhesive upon the base since the foam is not secured.

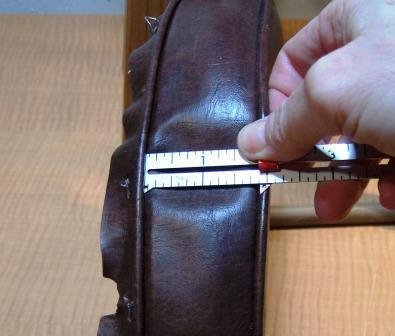
You should measure the finished boxing or bandwidth and add 1-1/2 inches for your seam allowance, then “pull” underneath the seat. The pull will allow you to grab hold and evenly pull smoothly before stapling into place.
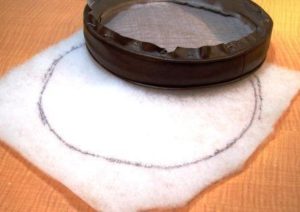
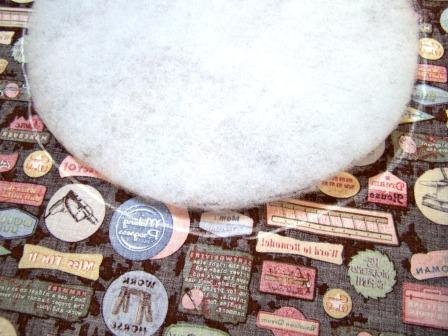
Lay the old cover on the Dacron scrap, trace around the scrap, cut out, and lay Dacron on the wrong side of the cover fabric. You must trace around the Dacron piece, add ½-inch for your seam allowance, and then trace again.
You can eyeball the additional ½-inch beyond the piece of Dacron, mark it, and cut out the top circle of fabric. Spray the foam’s top using adhesive, then adhere to the Dacron circle for extra cushioning.
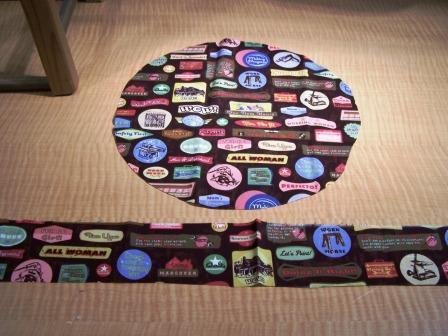
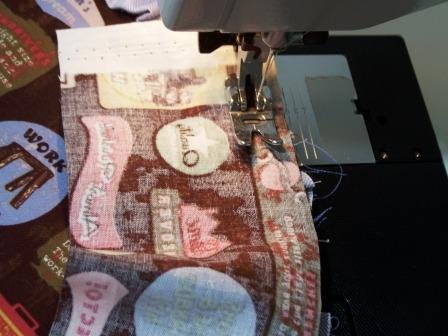
Cut your boxing or band strip out, and you will be prepared to sew.
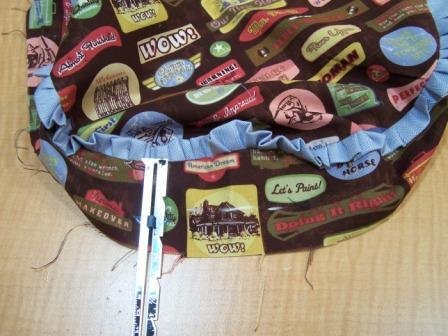
The finished width of the pre-made trim is an inch; therefore, I measured my blue cloth fabric in 2-inch strips, pinned and stitched the ends together, folded the ends in half lengthwise, and “ruffled” them as I stitched by scrunching them up before they went underneath the needle.

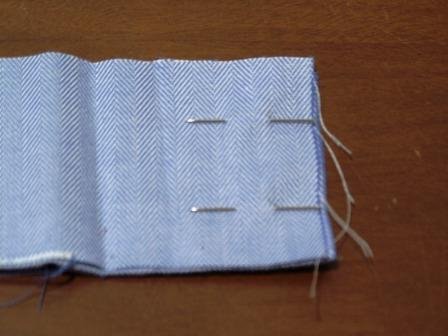
When I reached the end, I folded the unfinished end underneath, formed my finished fold, stuffed the additional end inside, and stitched it all down.
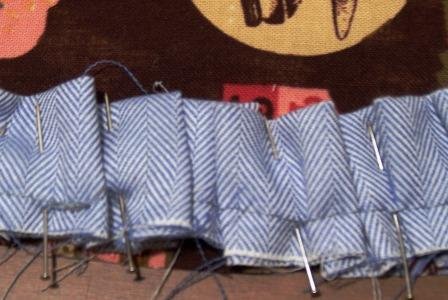
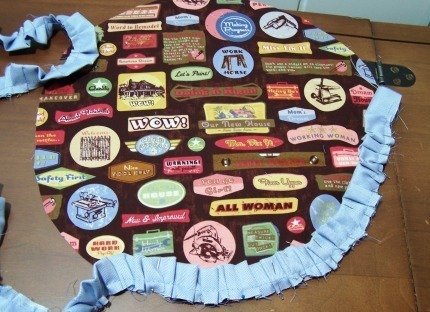
Right within the picture’s center, one end was tucked into the other.
Best Fabric for Bar Stools
This fabric is appropriate and fun for my do-it-yourself studio. If you’re making kitchen or bar stools, you may use vinyl, plain fabric, or, if you are daring, leather. The measures will be the same for genuine bar stools and cutesy studio stools.
Additional Tips for DIY Bar Stool Upholstery
You can either stitch your ruffle down during this time or lay the boxing or band on top of your ruffle. All of the “raw” corners must be aligned. Your top scrap will be your boxing, then the ruffle — then the circle’s right side.
You can pin down the boxing to keep it from slipping or slowly start stitching with a ½-inch seam allowance. Maneuver the boxing as you curve around the circle.
You will be attempting to keep your stitching at ½-inch. Keep the boxing’s raw corner even with the additional raw corners, and gradually turn the entire circle until you reach the end. Fold back a part of the boxing, overlap it as you come from the additional side over, and stitch down.
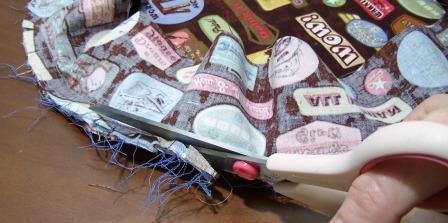
Clip seam allowance to ¼-inch to get rid of bulkiness.
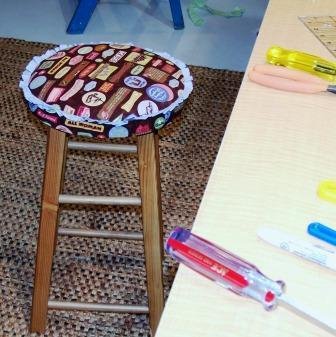
Turn right side out, put on the stool’s top, and measure down from the ruffle where the corner should be stapled. You can chalk that measurement all the way around. Center the stool’s top, and be sure the pattern is very straight.
I did not straighten my pattern with the legs; therefore, it is a bit cattywampus.