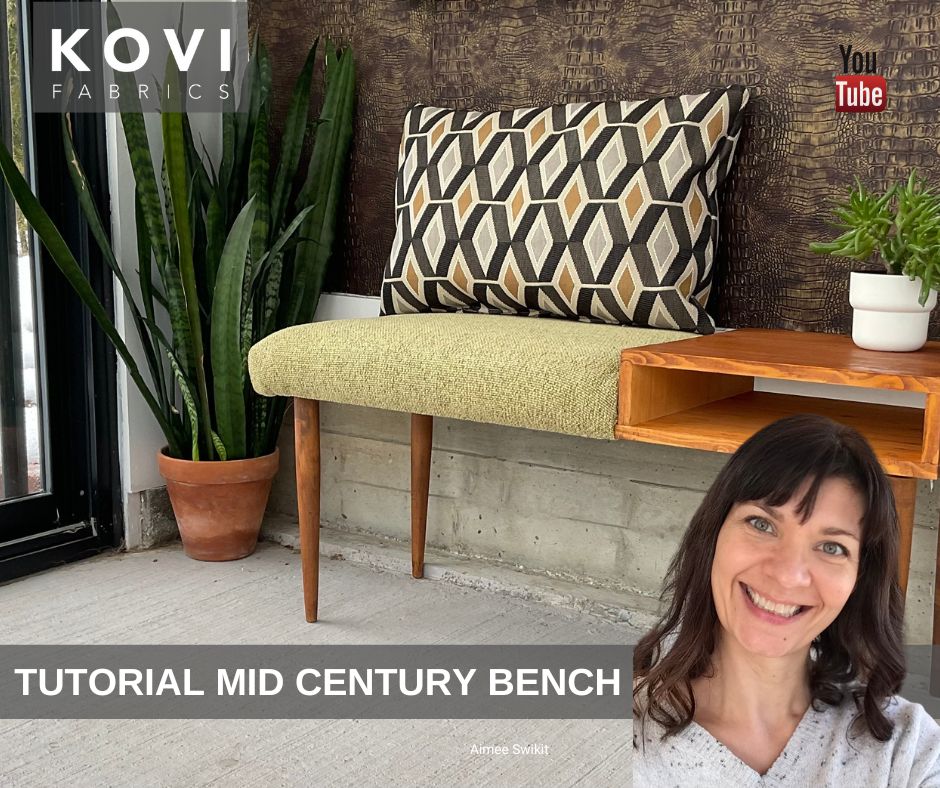
Creating a mid-century modern bench with a cushioned top combines sleek, timeless design with practical comfort. Here is a complete guide integrating framework construction, cushioned upholstery, and finishing details.
Materials Needed
Wood & Structural Components
- Pine, Oak, or Maple boards for the bench top (2×6 or 1×6 depending on preference)
- Pine or hardwood for legs and stretchers/supports (commonly 2×4 or 2×10 sizes)
- Screws (2–2.5″ wood screws) and wood glue
- Optional: pocket hole screws for joinery
Cushioning & Upholstery
- Foam padding (2–3″ thick, high-density for durability)
- Batting (optional, for softer edges)
- Upholstery fabric or faux leather
- Spray adhesive
- Staple gun (pneumatic preferred for firm staples)
- Particle board (for cushion base)
Finishing
- Sandpaper (80, 120, 150, 220 grit)
- Wood stain or paint (gel stain recommended for even coverage)
- Polyurethane or spray lacquer for topcoat
- Wood filler for holes or imperfections
Tools
- Tape measure
- Miter saw, Table saw, or Circular saw
- Drill and drill bits
- Pocket hole jig (optional for clean joinery)
- Clamps & bar clamps
- Orbital sander
- Utility knife & scissors
Step-by-Step Instructions
Step 1: Determine Dimensions
- Measure the desired bench length, width, and height (common mid-century bench: ~76″ long × 15″ wide × 17–18″ tall).
- Account for foam thickness and upholstery in total height.
Step 2: Cut Wood for Bench Frame
- Cut bench top boards (e.g., 2×6s) to length.
- Rip edges for straight edges if necessary.
- Cut legs from 2×10 or 2×4 boards to desired height.
- Cut stretchers/supports to fit between legs.
Step 3: Assemble Bench Frame
- Drill pocket holes or pre-drill for screws.
- Attach legs to bench top using screws and wood glue.
- Add stretchers and supports for stability.
- Ensure all corners are square using a speed square before tightening screws.
Step 4: Sand and Finish Frame
- Sand all edges smooth, starting with coarser grits (80–120) and finishing with finer grit (220).
- Apply stain or paint as desired. Use a gel stain for uneven wood colors.
- After drying, seal with polyurethane or lacquer (2–5 coats recommended), allowing proper drying time between coats.
Step 5: Prepare Cushion Base
- Cut particle board to match bench top dimensions.
- Cut foam padding slightly smaller than bench top for neat edges.
- Place batting over foam for extra softness.
Step 6: Upholster Cushion
- Center foam and batting on top of particle board.
- Cut fabric with allowances on all sides.
- Pull fabric taut and staple to the underside of the particle board, starting with short sides, then long sides.
- Fold corners neatly for a professional look.
Step 7: Attach Cushioned Top
- Center the upholstered cushion on the finished bench frame.
- Secure using screws through pre-drilled holes in corners or along sides (washers recommended to prevent tearing fabric).
Optional Enhancements
- Add trim pieces around cushion for aesthetic finish.
- Use angled, tapered legs characteristic of mid-century design.
- Add spacer boards beneath the cushion to resemble the slatted look of George Nelson benches.
Step 8: Final Touches
- Check stability and level on flat surface.
- Add felt pads to leg bottoms if placed over hardwood floors.
- Ensure all edges are smooth and glove-tested for comfort.
By following these steps, you will have a durable, stylish mid-century modern bench with a cushioned top that balances aesthetic appeal with functional comfort. This bench can be used as seating for a dining table, an entryway piece, or a stylish living room accent.