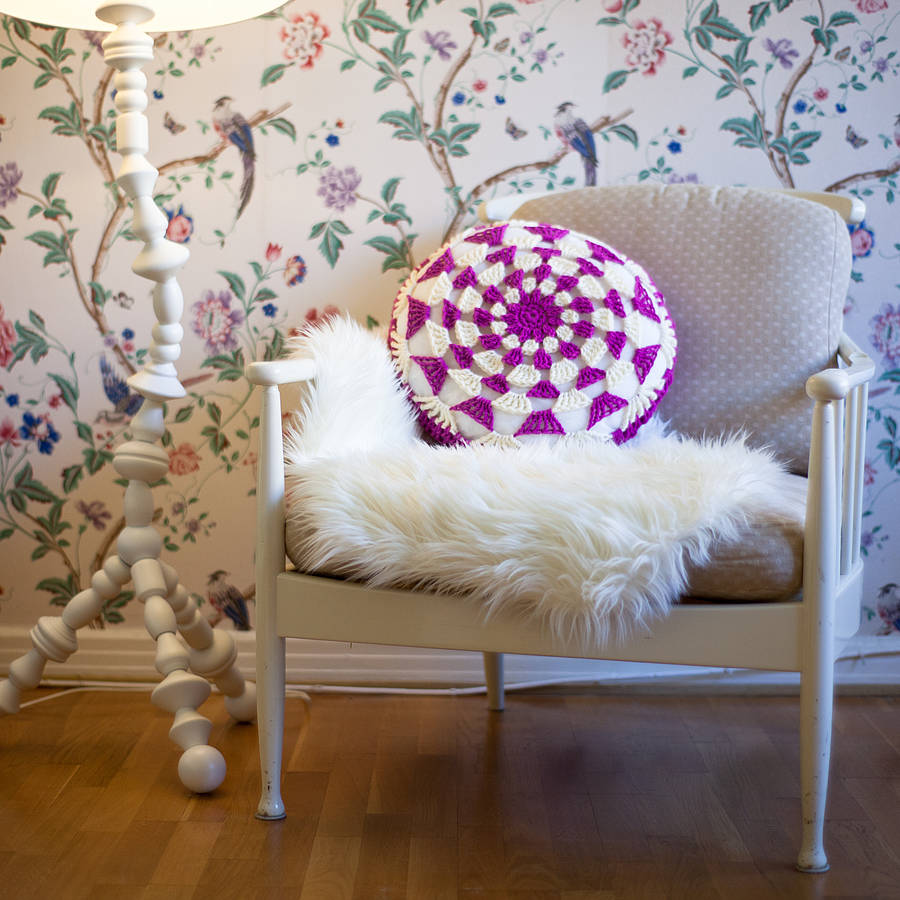
While making plain, square, or rectangular-shaped do-it-yourself pillows may seem like a small job, putting together a round cushion is more challenging. This oddly shaped pillow looks dandy on couches and booths, creating a friendly geometrical shape against the sharply-edged furniture.
Round pillows are great for accents, a shape variety many homeowners love. They can also be used as extra seating in your family room whenever you need to accommodate a number of extra guests.
Creating round pillows in different colors adds a splash of youthfulness to your interior. Because of its versatility, there’s no reason why you can’t have a DIY round cushion. Armed with the right tools, you can create a perfect do-it-yourself pillow to fit your living space.
What You’ll Need:
- Fabric
- Needle and thread / Sewing machine
- Scissors
- Brown paper and marker for pattern-making
- Pins
- Insert / Stuffing
Sewing Steps:
Round-shaped do-it-yourself pillows may seem complicated, but they are pretty basic. Don’t be intimidated by the difference in shapes. As long as you have a base (insert of stuffing), you can use your creativity to create the most unique cushions!
- Get your fabric. Round cushions make great accents and seating, so we recommend looking over vinyl and faux leather variants. If you want something softer, how about a fun, chevron print to spice up your interior? Put some punch in that pillow using a decorative fabric and make it stand out from the rest of your accents.
- Now, it’s time to take the measurements. If you’re making a new slipcover for a round cushion, you can rely on the current diameter and height of the pillow. However, if you’re making something from scratch, picking measurements will be based on your instincts. Create a circular pattern on the brown paper and use it to cut the shape on the fabric. Remember to add a one-inch seam allowance.
- Tip: To make a circle pattern, tie your marker with one end of a string and anchor the other at the center. Draw around the center point. The longer the string, the bigger the circle you’ll make.
- Tuck pins around the edges after cutting the two covers to prevent the form from slipping apart. Turn the fabric out and sew from the back side. Use a cutout line of fabric to sew the edge of the circle. Snip the uneven seams. Leave enough space for the insert to go through.
- Now, it’s time to turn the right side out. Tuck the insert firmly in place and sew the remaining open inches.
Rounding Up Do-It-Yourself Pillows:
Voila! You now have your own handmade round cushion, a perfect addition to your collection of pillows. Standard diameters range from 14” and more. Despite its unusual shape, this offers many uses you and your family can enjoy.
Add ruffles on the edges to make it look feminine, or embroider the ends for a more detailed effect. A dash of fringe makes it appear more homelike, while contemporary patterns suit modern interiors.


1 thought on “Do-It-Yourself Pillows: Round Cushion Tutorial”