
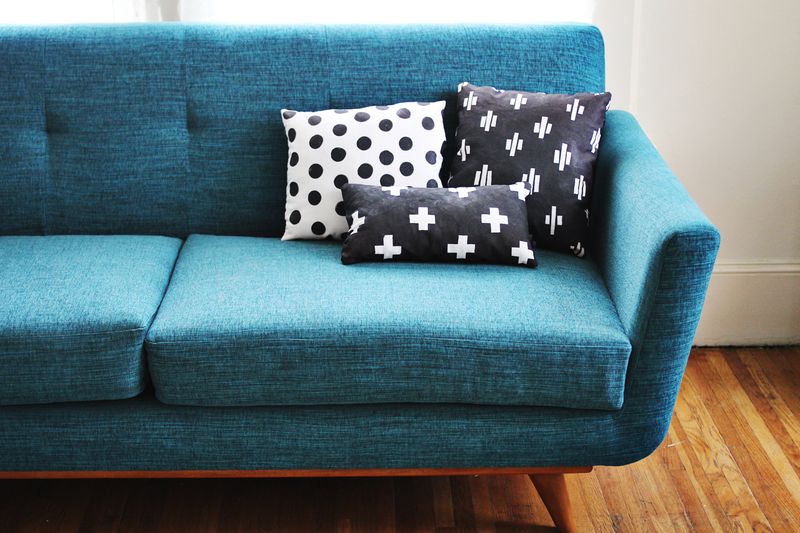
Making do-it-yourself pillows is a fun project. The task is easy, and it will surely enhance any needler’s hands. In return, you can create sofa accents and slipcovers of your choice whenever and however you want.
Find your old floral patterned cushion boring? Replace it with something fun, like a bright-colored cover in coral or blue. Or make it more classic with shimmering gold or silver metallic fabric. The choices are endless; you can decide over build, fabric, and design.
Of course, sewing is not some magic done within a blink of an eye. It would help if you still had a pair of steady hands, a watchful eye, and a handful of tools to keep you on track. If you’re ready to start the project, it’s time for you to gather all the materials needed before you begin. The things you’ll need are:
- Fabric
- Brown paper and pencil for pattern-making
- Inserts (optional)
- Measuring equipment: yardstick/tape measure
- Needle and thread
- Scissors
- Pins
- Zipper (optional)
Getting On With Do-It-Yourself Pillows
- Choose a fabric. Pick materials with a contemporary flair or choose basic, solid colors; everything is up to you! You can pair it up with your current furniture upholstery or create accents by opting for a different hue.
- Measure your pillow insert. Determine the height and the width of your pillow and create a pattern with a large piece of brown paper. Add two inches to both measurements for the seams and extra space at the opening end. Cut the pattern. Note: You can skip this step if you make a pillow from scratch.
- Place the pattern onto the fabric and start snipping away. You may choose different pillow front and back fabrics, but you can use the same pattern.
- Put the front and back covers together and place pins around the edges. This helps secure the ends when you sew it together.
- Use the inch of the fold to smooth the slip cover’s end. Sew both covers together with a one-seam allowance. Leave out one side, the part with extra inches, for the opening. You can optionally sew zippers at the hem of the opening so you can reuse the pillowcase.
- You can alternatively use the casing permanently by tucking the insert in and sewing it close.
Designing Your Do-It-Yourself Pillows
With this basic tutorial, you can go ahead and be creative when making your pillows! Play with the edges and create a line of pompoms for a kitschy look. Just sew your DIY pompoms over one part of the pillow cover. Another great option is to add ruffles. You can also add crocheted accessories to your do-it-yourself pillows.
With the right fabric, you can enjoy color pairings and blockings over a basic pillow. You can even make it look more personalized by having names and things embroidered on the cover!
Have fun with your pillow project, and discover the joy of decorating your home with handmade decor and accents.