
Is the extent of your do-it-yourself knowledge limited to craft paper and crayons – maybe a little glitter glue?
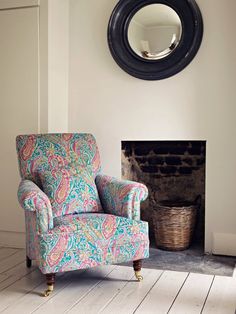
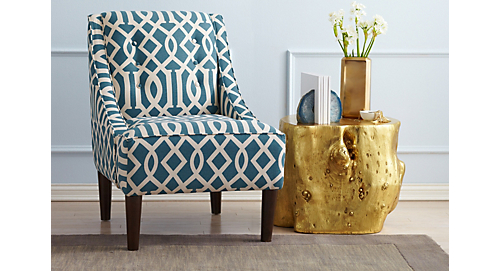
Well, that doesn’t mean you can’t spruce up your home with some new upholstery. That’s right – upholstery you are going to do yourself. Are you quaking in fear yet? Well, put down the glitter and come on over to the DIY dark side! Here is a technique that fledgling DIY upholsterers seem to fear the most and how to do it the right way.
Corners: the final DIY upholstery frontier. If you have a chair that doesn’t have a removable cushion, then roll up your sleeves. This isn’t as bad as you think it’s going to be – you just need to have a little patience and a hot glue gun.
Corners can be a bit intimidating, but they don’t have to be. Once you have your fabric cut to size and positioned on the chair, all you have to do is staple the fabric around the top of the leg.
This will leave some fabric free that you will have to trim down. Next, cut off the corner and leave about 1-2 inches. Push the fabric inward to make a pocket (kind of like a little taco or fortune cookie), and then once you have a seam you’re satisfied with, hot glue or sew it closed. Add trim or piping around the edges, and voila! You just created a corner out of upholstery. You go with your bad self.
That wasn’t so hard now, was it? Check out the upholstery fabric selection by KOVI to get started!